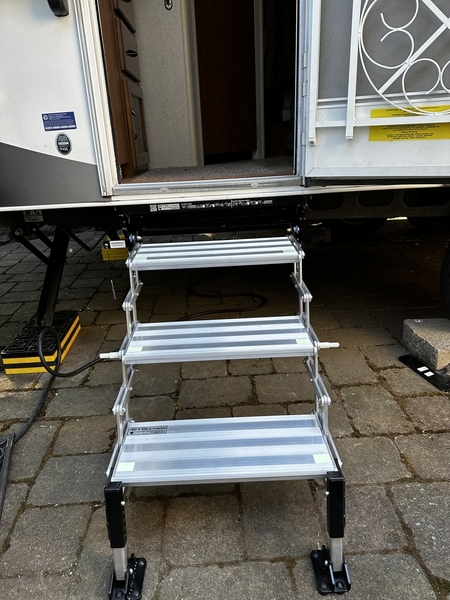
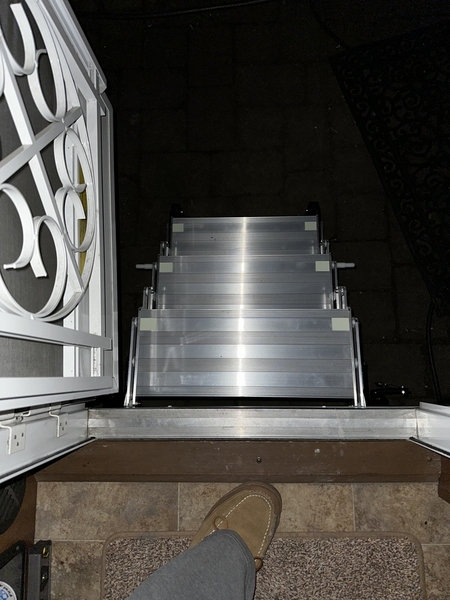
Torklift GlowStep Revolution - Part 2 installation
Before installing I read thru several excellent postings here on LOA by others on lessons learned. Was extremely helpful and appreciate the sharing of information. I also watched the Torklift installation videos which sure make the installation look easy (it kinda was lol). Installation took over 2 hrs and as I got tired the picture taking kinda got forgotten on some of the steps unfortunately.
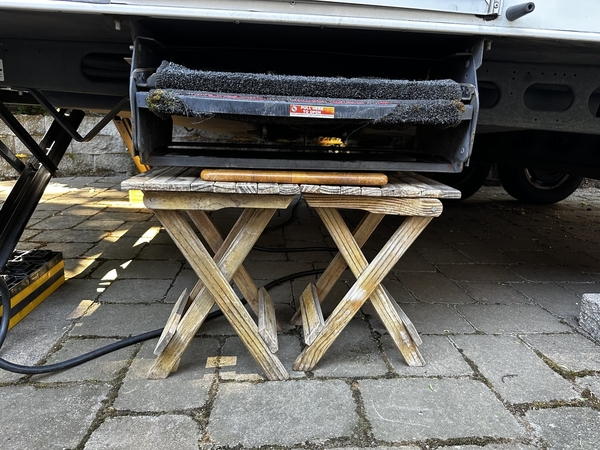
Getting started.
As noted by others the first challenge is removing the huck bolts of which there are 4 total (2 on each side). I’ve highlighted the huck bolts in yellow. Also note the red arrows pointing to the metal lip on the rear facing portion it the step bracket.
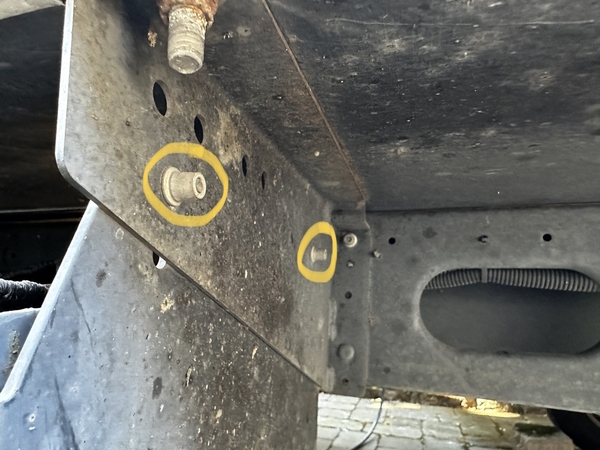
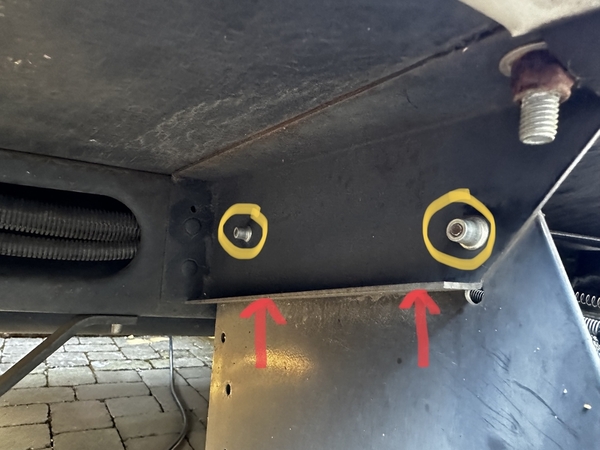
Others had mentioned the challenges of removing the huck bolts and how an angle grinder made quick work of this. So I went and purchased a small 4 1/2” battery angle grinder and wow it really worked fast - on the front bolts. However in the rear because of the lip (see red arrows) there was no easy way to get the grinder in to the bolts. So I had to grind the heads off from the inside which took about 15 minutes as compared to the 15 seconds when cutting off the portions circled in yellow. Unfortunately I forgot to take pictures of this part.
The next challenge was that the provided bolts were slightly larger than the factory holes in the lance bracket. Easy fix to just drill out.
Because the steps are slightly narrower than the trailer’s factory bracket Torklift provided 2 spacers to fill the gap ( I only needed 1). While others said they had been supplied with double stick tape to use in placing the spacer in the correct spot none was included with mine. Fortunately I already had some.
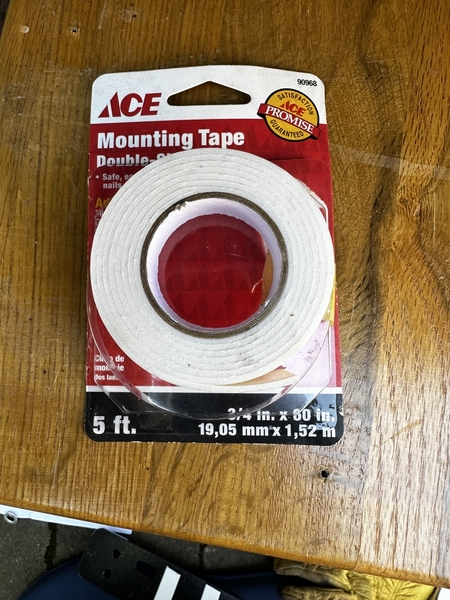
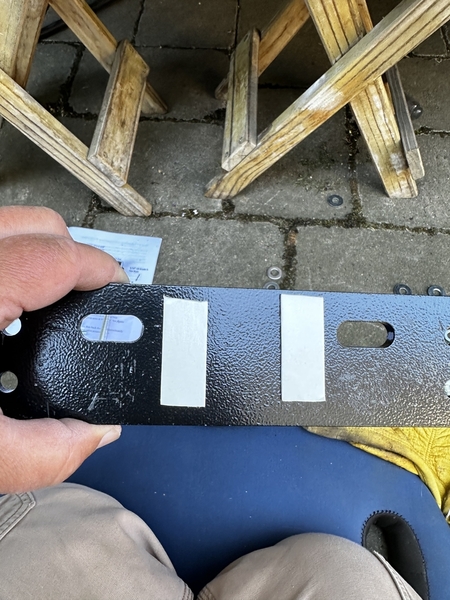
To mount the spacer I slid bolts thru the bracket holes and then slid the spacer over them and pressed into place.
I then slid the Torklift step bracket into place on the support stand and started adding the bolts and nuts. Again I ran into a small setback. No amount of twisting, torking (pun intended) or sliding would allow all 4 holes to align, as 1 hole was about 1/8” off. In the end I had to mount 3 of the bolts and tighten down then drill out the 4th hole in the lance factory bracket to get it to fit. I don’t think it had anything to do with the Torklift brackets, just that the lance brackets holes were likely not spaced correctly. Was an easy fix, once I decided I couldn’t force it, or simple use a wrench to screw that last bolt thru the hole.
Once the Torklift bracket was installed it was simple to put the steps back in the brackets and bolt in.
Some miscellaneous thoughts
1. Fairly easy install for one person, but like anything you should be prepared for hiccups
2. Find a good way to support old and new steps when doing the work
3. Angle grinder makes quick work of the huck bolts, like really really quick work
4. Some drilling may be required to tweak holes for fit
5. Don’t be intimidated by either doing the project yourself or having someone else do it for you
These steps are worth it. Rock solid, adjustable and the night time glow in the dark safety feature. I highly recommend them.

